
Siege of Cartagena Walkthrough
By Iron Nest Wiki Team · August 2026 · 12 min read
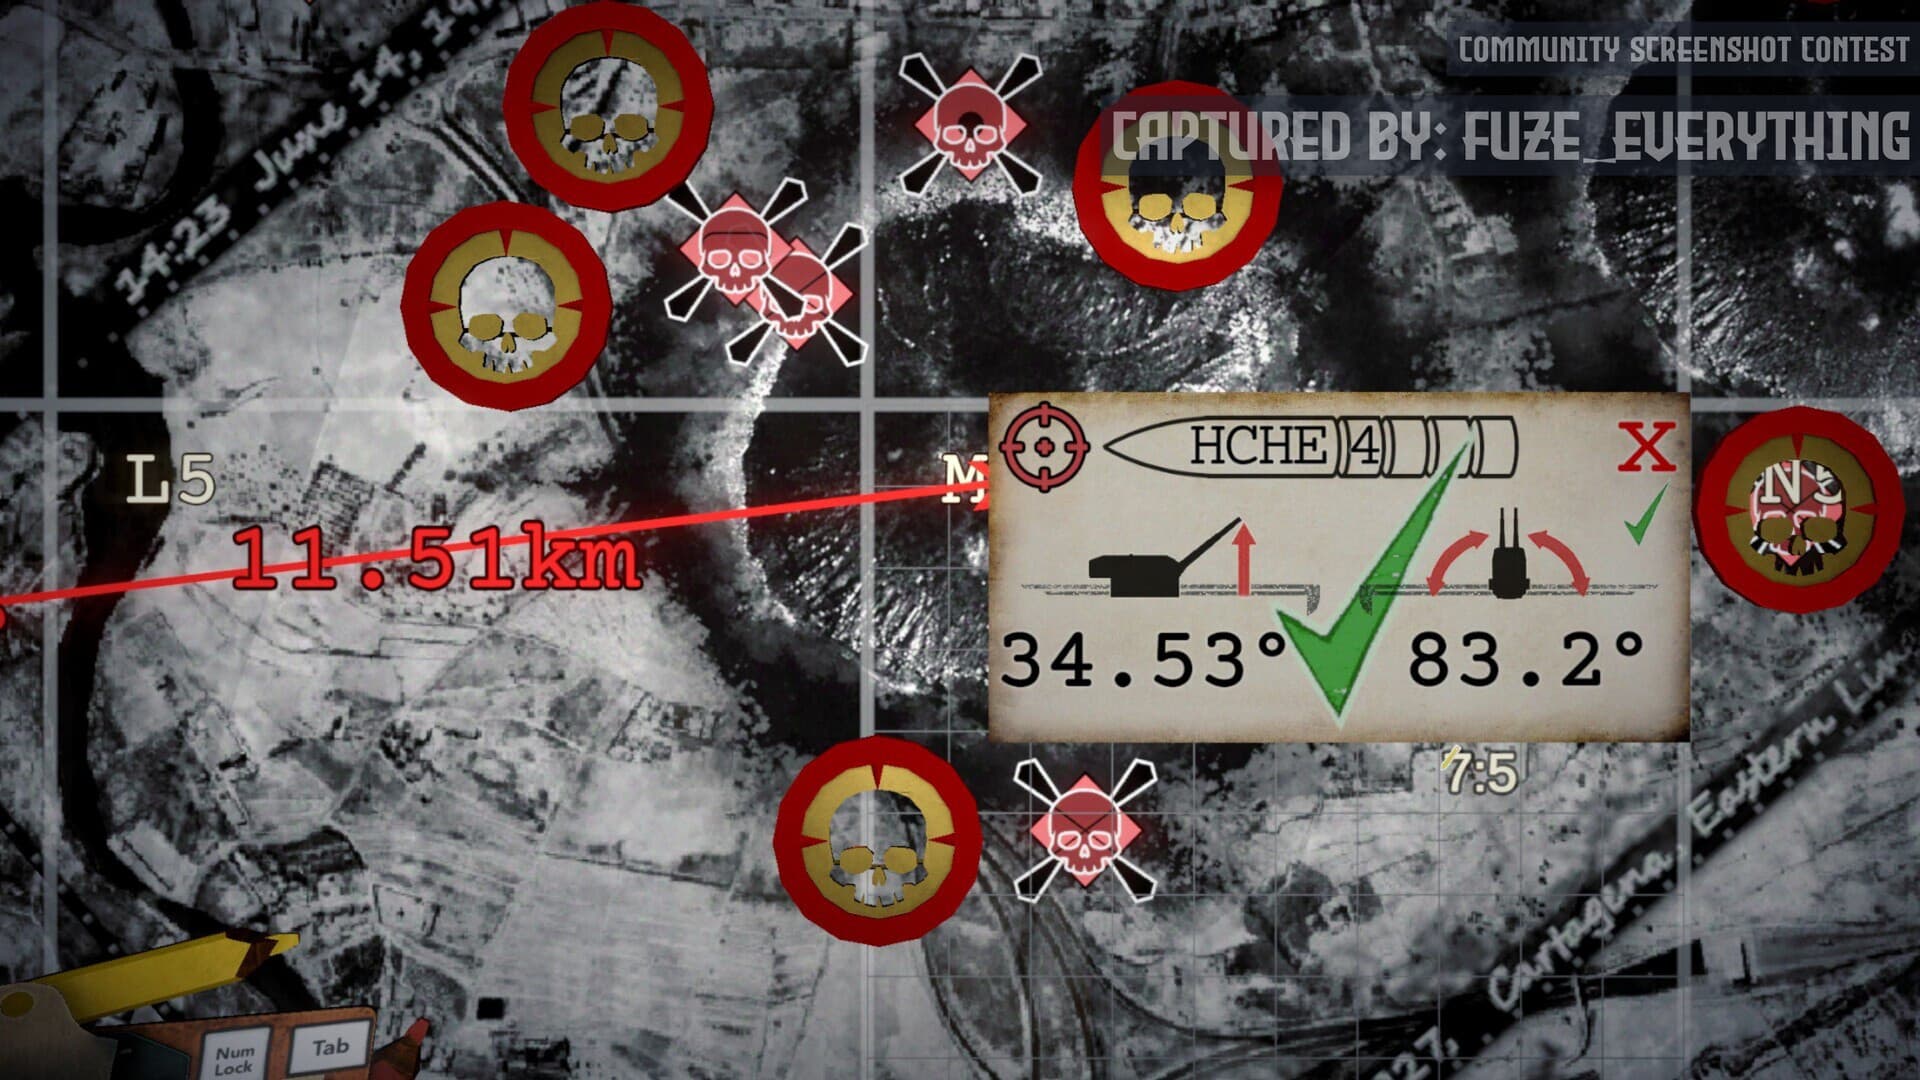
Operation 6: Siege of Cartagena is one of the most complex missions in IRON NEST: Heavy Turret Simulator. Cartagena's garrison remains encircled by anti-monarchist forces, and its breakout is stalled by concealed coastal batteries. Command of the operation passes to Vice Admiral Mendoza, who tasks you with clearing the way for the garrison to break free.
This mission combines chained intelligence gathering, timed coastal battery destruction, urban clearing, and live smoke support for the final breakout. One inaccurate marker in the early chain can damage several later shots, making precision essential from the first bearing to the final smoke round.
Mission Overview
The Siege of Cartagena requires four distinct phases. First, use field reports to locate three concealed installations: the enemy signal station, assembly area, and field command. These targets are hidden from aerial photography, so you must solve them entirely from spotter bearings and distance measurements.
After destroying all three installations, locate two coastal batteries from listening-post reports. These batteries activate a Counter-Battery Timer (CBT) when they come online, adding time pressure to an already complex mission. Destroy both batteries before the timer expires, then clear eight additional enemy units, prepare smoke support, and sound the War Horn to commence the breakout.
Your primary targets are three high-value installations which are concealed from aerial photography. Field intelligence will provide their positions. Be prepared: Two Vickers 580mm Coastal Batteries hold the cliffs overlooking the harbour.
Phase 1: Mark Reference Points
The opening briefing warns that field bearings can carry an error of up to 0.5°. Place all four reference markers before drawing any target measurements:
- Iron Nest: Your turret position (e.g., D10 4:6)
- Spotter 1: First observation post (e.g., K7 0:2)
- Spotter 2: Second observation post (e.g., L7 9:2)
- Spotter 3: Third observation post (e.g., D7 2:5)
Your operation may use different values, but the methodology remains the same. Delete any old Iron Road lines at this point — old railway and AP lines can look like part of the Cartagena chain and cause confusion.
Phase 2: Locate the Three Concealed Installations
The three opening installations are hidden from aerial photography, so you must solve them from field reports in order. Do not continue to the next target until the current one is confirmed.
1. Enemy Signal Station
Locate the signal station first. Its reports include several distances from different spotters that converge on the same small area. Place the marker at the most credible common intersection rather than at the edge of one measurement circle.
Stop and verify when:
- The reports do not meet in one compact area
- The marker falls outside the enemy backline
- One distance was drawn from the wrong spotter
- The point was chosen because it “looks right” rather than because the reports agree
2. Enemy Assembly Area
The assembly area uses chained measurements from the confirmed signal station:
- Approximately 221° from the enemy signal station
- Approximately 229° from Spotter 2
The target belongs near the crossing of those two lines. This is the first point where signal-station error can carry forward, so zoom in before placing the assembly-area marker.
3. Enemy Field Command
The field command uses:
- Approximately 235° from the enemy signal station
- Approximately 2.41 km from the enemy assembly area
Critical: The 2.41 km measurement begins at the assembly area, not at the signal station. Do not replace the reported location with a point that seems more logical for a command post. The mission tests whether the intelligence chain was constructed correctly.
Phase 3: Prepare and Fire Opening Shots
After all three installation markers are confirmed, draw separate final firing lines from Iron Nest to each target. One documented operation produced these solutions:
- Signal Station: 149.9° / 6.64 km / ~39.84° elevation
- Assembly Area: 135.5° / 8.16 km / ~48.96° elevation
- Field Command: 98.4° / 9.67 km / ~58.02° elevation
Important: These values are examples from one operation, not fixed Cartagena answers. Use H shells for all three opening installations. Number every target marker and firing card before loading — similar-looking cards become easy to reverse once the coastal batteries activate.
Before firing, preserve enough requisition for two AP shells and possible movement recovery. Fire one confirmed solution at a time, and read the destruction report before deleting each marker. When the third installation is destroyed, clear the completed construction lines and return to the teleprinter immediately.
Phase 4: Locate the Coastal Batteries
The coastal-battery report identifies a listening post and describes the batteries relative to it. In one documented operation:
- Listening post: approximately K7 7:8
- First battery: approximately 5.25 km south
- Second battery: approximately 5.27 km southeast
The real trap: Treating “south” and “southeast” as exact firing bearings (180° and 135°) produces points in implausible locations and wastes precious CBT time. Use each report to define a search sector instead:
- Mark the listening post
- Draw the reported distance
- Inspect the southern or southeastern part of that radius
- Check the latest developed reconnaissance covering the coastal strip
- Confirm the actual battery icon
- Only then draw the final Iron Nest-to-battery line
In documented operations, both coastal-battery icons were already visible in developed reconnaissance, but they were noticed only after several incorrect shots. Do not fire at the center of the directional estimate when the actual battery icon is available elsewhere on the map.
Phase 5: Destroy Both Coastal Batteries
Once both coastal-battery icons are confirmed, prepare both AP solutions before firing. Cartagena punishes three common mistakes here:
- Using broad-direction endpoints instead of the confirmed icons
- Loading H shells instead of AP
- Reversing the left and right firing cards
Write the gun side directly on both cards. Do not start the first AP shot while the second battery is still only a guess — the first confirmed hostile action can leave too little time to stop, remeasure, procure another shell, and reload. If both targets are confirmed from the original Iron Nest position, calculate both before committing the volley. If the timer is already too low, use Emergency Move rather than forcing another uncertain attempt.
Phase 6: Emergency Move and Recovery
Emergency Move is a recovery tool, not an automatic failure. Use it when:
- The battery markers are still uncertain
- The previous AP volley clearly missed
- The two cards were reversed
- The remaining time cannot cover a full corrected sequence
- The next shell would be another guess
After movement, keep the confirmed coastal-battery markers, delete the old Iron Nest marker and firing lines, discard old bearings/ranges/charges/elevations, and request two Position Reports before firing again. One report creates a line of possible positions — two reports provide the intersection needed for a precise new firing origin.
In one recovery, two reports produced:
- Approximately 336° from A9 4:7
- Approximately 303° from B9 7:5
Their intersection gave the new Iron Nest position. From there, recalculate both ranges, charge counts, and elevations. A corrected volley was fired with only about 26 seconds remaining, and the second battery was confirmed destroyed with approximately 11 seconds left.
Phase 7: Clear Eight Additional Enemy Units
After both coastal batteries are destroyed, the Counter-Battery pressure ends and the mission moves to the city-clearing stage. You must destroy at least eight additional enemy units around Cartagena before the garrison can begin its breakout. The same order warns that units will request supporting smoke after the War Horn is sounded.
Group safe targets that can be covered without touching friendly positions. Use smaller individual shots where enemy icons are separated or close to the breakout route. Do not continue clearing the entire map by habit — only eight kills are required. Continue firing until eight additional kills are confirmed, the breakout indicator turns green, and the War Horn becomes the next required action.
Phase 8: Smoke Support and Breakout
Buy two Smoke Shells after the eight-unit requirement is confirmed. Do not buy four as insurance — extra smoke contributed to inefficient resource results in documented runs. Before sounding the horn:
- Confirm both coastal batteries are destroyed
- Confirm the eight-unit requirement
- Clear old destructive firing lines
- Keep the current Iron Nest marker
- Load or stage two Smoke Shells
- Preserve enough charges for two shots around 11 km
Sound the War Horn to commence the breakout. Do not precompute the Smoke Shell solutions — the exact coordinates arrive only after the advance begins.
First Smoke Request: K6 8:5
One documented breakout request was:
- Coordinate: K6 8:5
- Bearing: 110.8°
- Range: 11.55 km
- Charges: 3
- Elevation: 46.20°
Draw a fresh line from the current Iron Nest position to K6 8:5, calculate the shot, and verify that SMK is physically loaded. After impact, wait for the advancing marine unit to confirm it is pushing through. Do not immediately repeat the same shot — the second unit sends a different coordinate.
Second Smoke Request: K8 5:1
The second documented request was:
- Coordinate: K8 5:1
- Bearing: 103.5°
- Range: 10.80 km
- Elevation: 43.20°
Do not reuse the first Smoke Shell firing card merely because both requests belong to the same breakout. After the second impact, wait for Mendoza's final report rather than returning to destructive fire.
Mission Completion
The completion order confirms: “Breakout successful. The city held. You may stand down.”Once the breakout succeeds, remaining enemies are optional while friendly units are already moving through the field. Stand down immediately on the safe route.
Continuing to fire after this message can consume ammunition that no longer advances the objective, endanger the units that just completed the breakout, and weaken the minimum-assets result. The mission-completion achievement is Breakout. The separate Naval Commendation requires Gold on every Cartagena medal.
Resource Planning
Cartagena is one of the few missions where resource planning deserves its own check. The operation may require:
- Three opening H shells
- Two AP shells
- Reconnaissance over the coastal search area
- Emergency Move
- Two Position Reports after moving
- Replacement AP shells after an incorrect volley
- Destructive shells for eight additional units
- Two Smoke Shells
Do not spend the opening budget on speculative AP for concealed installations, repeated shells at broad directional estimates, overlapping reconnaissance flights, more than two Smoke Shells, or optional targets after breakout success.
Common Mistakes to Avoid
- Continuing the chain from an uncertain signal station: Verify the first marker before continuing — errors compound with each link.
- Measuring 2.41 km from the wrong point: The field command uses distance from the assembly area, not the signal station.
- Treating south/southeast as exact bearings: Use them to define search sectors, then confirm battery icons.
- Using H shells against coastal batteries: Battery targets require precise AP hits.
- Reversing left and right AP cards: Write the gun side directly on both firing cards before loading.
- Waiting too long to use Emergency Move: Move when another reliable volley cannot be completed before CBT impact.
- Firing after only one Position Report: One report gives a line of possible positions, not a precise origin.
- Reusing pre-move ranges and elevations: Keep battery markers, but recalculate every firing value from the new Nest.
- Clearing every enemy before the War Horn: Only eight additional units are required.
- Buying more than two Smoke Shells: The documented route generated exactly two support requests.
- Reusing the first smoke solution: K6 8:5 and K8 5:1 require separate firing cards.
- Continuing after Mendoza authorizes stand-down: Remaining enemies are optional once the breakout succeeds.
Frequently Asked Questions
What makes Cartagena different from other missions?
Cartagena combines chained intelligence (where errors compound), timed coastal batteries (CBT pressure), urban clearing with a specific kill threshold, and live smoke support for a friendly breakout. Most other missions isolate these mechanics; Cartagena demands all of them in sequence.
How do I know when to use Emergency Move?
Use Emergency Move when the remaining CBT time is insufficient for a full corrected firing sequence: diagnosis, remeasurement, shell procurement, loading, and impact. Do not wait until the CBT impact is already arriving.
Can I get all Gold medals on the first attempt?
The exact Gold thresholds for Cartagena medals (Measured Fire Star, No Quarter Cross, Unaided Fire Distinction, Austere Service Medal) were not confirmed in available documentation. Focus on completing the mission cleanly first, then optimize for specific medals on repeat runs.
What happens if I sound the War Horn early?
Mendoza warns: “You sounded the horn before the ground was clear. They walked into guns still standing. Confirm the perimeter before you call them forward again.” Sounding the horn before eight enemy units are destroyed causes friendly casualties and may fail the mission.