
IRON NEST All Endings Guide
By Iron Nest Wiki Team · August 8, 2026 · Updated August 12, 2026 · 10 min read
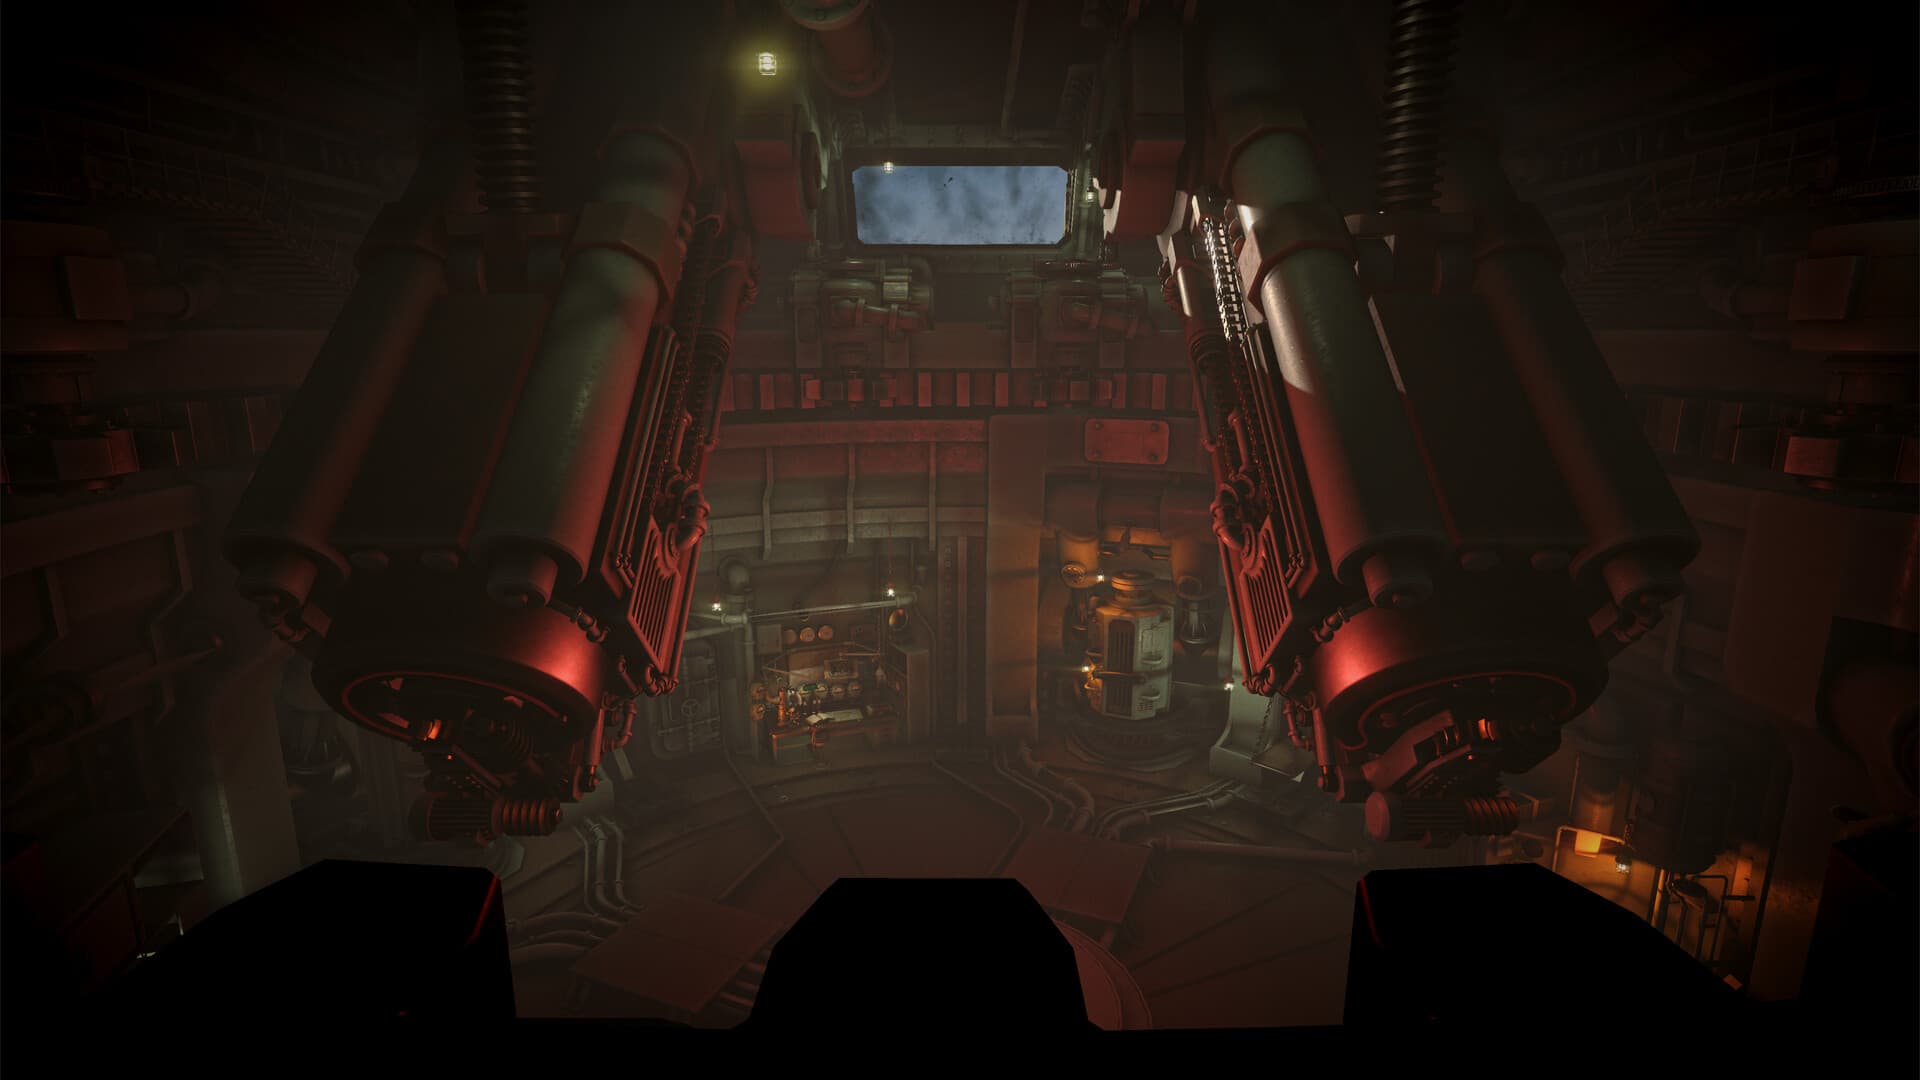
IRON NEST: Heavy Turret Simulator has four distinct endings, and every single one is decided in Mission 15, “White Shells.” The finale drops the normal mission structure entirely. Instead of a chain of mandatory target coordinates, the game asks one question: what do you load into the gun before you fire on Barcelona? Your shell choice — and one special betrayal route — determines the fate of the city and the ending you see.
This guide covers all four endings, exactly how to trigger each one, the recommended order to collect them, and the critical preparation needed for the rarest route. All four ending achievements unlock in Mission 15, and you can reload the mission to experience every outcome from a single campaign playthrough.
Quick overview of all four endings
| Ending | In-game description | How to trigger |
|---|---|---|
| A City in Celebration | “A city that comes out to meet you.” | Fire a PRPG propaganda leaflet or STAR round into Barcelona |
| A City Subdued | “A city that kneels, and calls it peace.” | Fire a chemical round (Phosgene PGAS or Tear Gas TGAS) into Barcelona |
| A City Silent | “A city wiped from the map.” | Fire the Atomic shell (ATMC) or any lethal round into Barcelona |
| The Road Not Taken | “A city spared, and a road no one else will ever walk.” | Attack your own High Command, then destroy every retaliating artillery position |
How Mission 15 (White Shells) works
The finale positions your Iron Nest (commonly around grid A10) and waits for your choice. There is no standard chain of mandatory targets to solve first. The game has spent fifteen missions teaching you to triangulate, range, and fire where High Command pointed the gun. The finale is the one moment the gun answers to you.
For the three city-facing endings, you need only one shell and the correct firing solution into Barcelona. For the betrayal route, everything changes the moment you turn your guns on allied units. Your requisition system shuts down, you can no longer reposition the Iron Nest, and a counter-battery timer begins counting down.
The shell choice is the whole point. For fifteen missions you have followed orders; the finale is the one moment the gun answers to you.
Ending 1: A City in Celebration (The Propaganda Route)
The easiest and softest ending in the game. Load a PRPG propaganda leaflet shell and fire it into Barcelona. The city survives — which, as one guide put it, “somehow makes it worse.” The leaflet round resolves the mission on impact. You do not need to clear military positions first, fire a second shell, or wait for a counterattack.
What you need: 1 PRPG shell (or a STAR round as an alternative route to the same ending).
The PRPG isn’t the only way in. The STAR round is a second route to the same ending, making this the cheapest achievement in the game if you are short on credits after a reload. The epilogue describes Castile stopping its fighting, with the two sides standing together again. Fifteen missions of teleprinter orders, ended by a shell full of paper.
Achievement unlocked: “A City in Celebration”
Ending 2: A City Subdued (The Chemical Route)
The middle path. Barcelona survives this one, but subdued rather than celebrating. A chemical round into the city forces the alternate ending. Iron Nest’s chemical shells are Phosgene (PGAS) andTear Gas (TGAS), which are less lethal, and tear gas is the cheapest way into this ending.
What you need: 1 White Phosphorous shell (WP), or Phosgene (PGAS), or Tear Gas (TGAS) shell.
The setup is identical to the Atomic route: same city solution, different shell in the breach. The achievement text calls it a city that kneels and calls it peace. Warning: do not lead with propaganda on this attempt. The PRPG round resolves the mission the moment it lands, so if you fire it first to “see what happens,” you will get A City in Celebration instead and have to reload.
Achievement unlocked: “A City Subdued”
Ending 3: A City Silent (The Atomic Route)
The darkest ending. This is the Oppenheimer route — you get this ending by doing exactly what you are told. High Command’s final order points at Barcelona, and the Atomic shell (ATMC) answers it. No fanfare. The city simply goes silent.
What you need: 1 Atomic shell (ATMC).
Reload White Shells, confirm your firing origin, pick a point inside the city, calculate, load Atomic, fire. Wait for the impact and High Command reports that remaining resistance has been wiped from the map, then authorizes stand down.
Pro-tip: The Atomic shell isn’t strictly required. Any lethal round into the city produces the same ending, so if you only want the achievement and you are broke after a reload, you do not need to spend 666 credits on it. However, the Atomic shell is the intended path and the most dramatic way to experience this ending.
Achievement unlocked: “A City Silent”
Ending 4: The Road Not Taken (The Betrayal Route)
The rarest ending in the game — only 0.42% of players have completed it. This is the hidden ending, and the one everyone gets wrong. Turning your guns on your own High Command does not end the mission. It starts a fight, and three things change the instant you do it:
- Your requisition system is gone. You cannot buy anything else.
- You can no longer reposition the Iron Nest. Pick your firing position before you commit.
- The Counter-Battery Timer starts. This becomes a timed mission.
What you need (recommended loadout):
- 1 Atomic shell (ATMC) — effective radius around 3 km
- 5–7 Scout Planes for full map reconnaissance
- 4–6 Armor Piercing High Explosive shells (APHE)
- 1–3 High Capacity High Explosive shells (HCHE)
- At least 25 Powder Charges
Preparing the betrayal
Buy first, betray second. Whatever sits in your inventory when you get the traitor message is what you finish the mission with. Use recon before committing, and work out which friendly positions can actually shoot back at a stationary turret. Artillery is what ends runs, not infantry.
Stock heavily against artillery positions specifically. Fire cards prepared in advance, earthquake rounds stocked before firing, every artillery position gone inside ten minutes. Buy more than you think you need, because you cannot add anything else once you pull the trigger.
Scout plane coverage
For 5 Scout Plane coverage: use a 0° heading from B1, D1, F1, R1, and T1. This is enough to reveal almost everything you need. For 7 Scout Plane coverage (if you have plenty of credits): reveal the entire map by using a 0° heading from A1, C1, E1, G1, R1, and T1, followed by a 90° heading from H9.
The attack sequence
Do the maths before you fire anything. Recon the friendly positions and identify every artillery piece and spotter. Build a complete firing card for each one: bearing, range, charge plan, elevation. Buy your full loadout: APHE for High Command, APHE or HCHE for the artillery, earthquake rounds if you can afford them. This is your last chance.
Load both guns. Strike High Command with APHE. The teleprinter turns on you, and the Counter-Battery Timer starts. Work straight down your prepared card list, artillery first, alternating guns. The ATMC shell has an effective radius of around 3 km. Fire it at D5 3:5, which should destroy everything around the High Command along with most of the units in the E/F column.
When you use the ATMC shell, begin the main attack with at least five minutes on the counter-battery timer. That gives you enough time to systematically destroy the remaining units. Continue prioritizing artillery and spotting units, while using HCHE against groups of unarmored units.
Calculating firing angles quickly
You need to work quickly before the counter-battery timer expires. To save time, calculate the firing angles manually with this formula:
Angle (°) = Distance (km) × 12 / Number of Powder Charges
Simplified calculations:
- 1 powder charge: Angle = Distance × 12
- 2 powder charges: Angle = Distance × 6
- 3 powder charges: Angle = Distance × 4
- 4 powder charges: Angle = Distance × 3
- 5 powder charges: Angle = Distance × 2.4
- 6 powder charges: Angle = Distance × 2
You do not need to destroy every single unit. At some point during the attack, the ending screen appears. The exact position of each unit is random, except the Iron Nest itself (always at A1 0:0) and the High Command in B4.
Achievement unlocked: “The Road Not Taken”
The cheapest order to get all four endings
You do not need four campaign saves, but you do need to think about money. Requisition is the real problem here, not skill. The Atomic shell costs 666 requisition. If you replay White Shells after finishing it once, you restart the mission with roughly 700 credits — enough for the Atomic and almost nothing else. That is fine for the three city endings, which only need one shell each. It is a problem for The Road Not Taken, where everything you fight with has to be bought up front.
Follow this order:
- The Road Not Taken first: On your original run, while you still have campaign savings to buy a real loadout.
- A City Silent: Reload, buy the Atomic, fire on Barcelona.
- A City Subdued: Reload, buy a chemical round. Cheap.
- A City in Celebration: Reload, PRPG or STAR. Cheapest of all, and it ends the mission the instant it lands.
Go in the other direction, and you will reach the betrayal route with 700 credits and no way to buy your way out of the fight. The Betrayal ending with 700 credits and no ATMC shell is extremely difficult and has not been reliably completed by the community.
What does NOT count as an ending
Community testing confirms: destroying High Command then dying is not a hidden fifth ending. Simply moving the Iron Nest into Barcelona does not trigger a separate ending either. There are exactly four endings, four triggers, no more. Killing the King in Mission 2 (“Fire and Light”) has no ending achievement — it ends your run with Iron Nest self-destructing and you dying with it. It is the fastest way to close out a campaign, but not a resolving ending.
Preparing for the finale
White Shells is short once you know the mechanic, but a few preparations make the ending runs painless:
- Have the shells unlocked — PRPG, chemical/White Phosphorus and Atomic all need to be available in your arsenal.
- Bank requisition — the finale does not require much, but do not arrive broke if you want to experiment with loadouts.
- Decide your ending order before you start — the recommended viewing order is Celebration → Subdued → Silent → The Road Not Taken.
Because there is no mandatory target chain in Mission 15, a replay is mostly positioning and one fire command. You can cycle through all four endings in an evening once you know the mechanic.
Frequently asked questions
Do my earlier campaign choices change which ending I get?
No. The campaign is a fixed sequence of 15 missions, and clearing one unlocks the next. Your decisions change how a mission plays, not which mission follows it. Only your shell choice in Mission 15 determines the ending.
Do I need a separate save for each ending?
No, but order matters. White Shells replays cleanly, so one campaign run gets you all four. The catch is money. Do the betrayal route first, while you still have your campaign savings.
Which ending is the canon ending?
There is no declared canon — the four endings are equally valid and decided by your Mission 15 shell choice. The developers have not indicated any single ending as the “true” outcome.
I destroyed High Command, but no ending appeared. What am I missing?
Artillery. The mission resolves when the retaliating positions are gone, not when command dies. Anything still firing is keeping the mission open. You must survive the counter-battery retaliation to complete The Road Not Taken.
Can I reposition Iron Nest after attacking High Command?
No. Mobility goes at the same moment your requisition does. Pick your firing position before you commit, because you are fighting the rest of the mission from it.